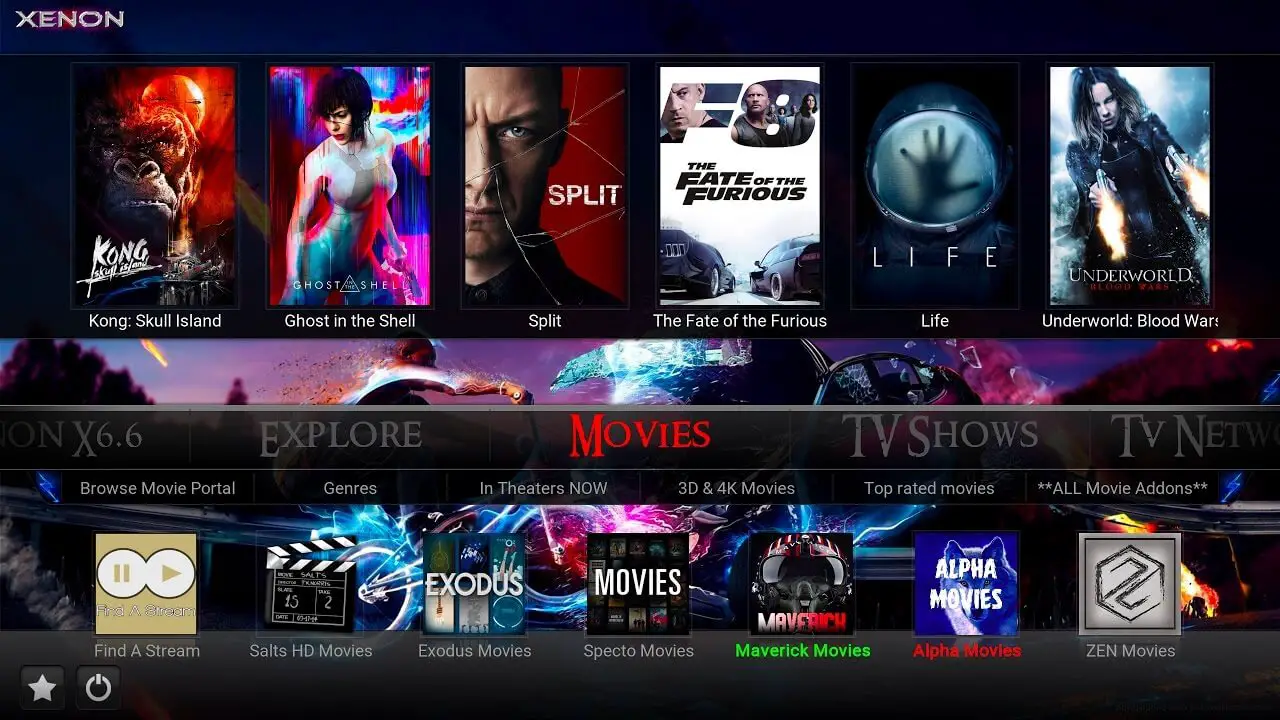
In this guide I will be showing you how to install the XENON build by Diggz on Kodi 17.6 Krypton.
The XENON build is an incredible build with so many options and great addons making it one of the best available right now on on Kodi 17.6.
The build includes all of the most popular and best Kodi plugins and addons that you will allow you to watch and stream and endless amount of content for free.
This build is easy to install as it is available through the Ares Wizard and is one of the top builds available on there right now.
The build works on devices such as the Amazon Fire TV Stick and other Android devices/Android boxes. The build is very fast and has great performance with no buffering or lag as it is optimised for speed on all devices.
To install the latest version of the XENON build please follow these steps:
- Open up Kodi Krypton (17.6) on your devices (e.g. Desktop PC, Laptop, Android Device, Amazon Fire TV Stick etc)
- First go to Settings
- Select system settings
- Click add-ons
- Enable “Unknown Sources”
- Click “Yes” when prompted
- Go back to the main menu
- Click settings again
- Go to “File Manager”
- Click “Add Source”
- Select the URL Box
- Enter the following URL: http://repo-ares.eu/
- Give the source a name you will remember e.g. XENON
- Click OK
- Go back to the main menu
- Go to Add-ons
- Click the install add-on box in the top left corner
- Select “Install from Zip File”
- Select the source you created earlier e.g. “XENON”
- Go to the “repository.aresproject” folder and then install the “repository.aresproject.zip” file.
- Wait for it to install (Notification will appear in the top right corner – This may take a few minutes depending on how busy the server is, just wait patiently)
- Install from repository, Ares Project, Ares Wizard and Install
- Go back to the main menu
- Select add-ons
- Select Program add-ons
- Open the “Ares Wizard” Addon
- Select Browse Builds
- Find Diggz Fire Builds and click it.
- Now select your build e.g. Xenon Clean.
- Click “Get build PIN” from here (if required) http://bit.ly/getbuildpin
- Enter the PIN
- Go to the bottom, find the Xenon Clean Build and Install.
- Wait for the download to automatically download, extract and install.
- If you are on a non-android device your Kodi 17.6 Krypton will automatically close, if you are on an android device like an Amazon Firestick you will have to unplug your device’s power and then turn it back on again.
- Re-open kodi
- Important: Wait around 5 minutes for the build to fully load and update. Trying to use the build straightaway will cause it to be laggy/buffer or crash while it tries to update.
That’s it!
How easy was that? You now have the latest XENON build installed onto Kodi 17.6 Krypton!
You can now enjoy unlimited, FREE content and so much more all from your Kodi device!
I have been using this build for a while and I have loved it so far!
We also recommend a fast, secure and unlimited VPN which you can get by clicking below, this will protect your privacy and give you the fastest Kodi speeds with no buffering:
If you have any questions or issues please let me know below


